
well i am ready to share my first attempts at light painting. i did a post about this last week and how excited i was to try it! i will be posting part II tomorrow and will explain what my camera settings were and how things are progressing in each picture. feel free to share tips if you've tried this before :)
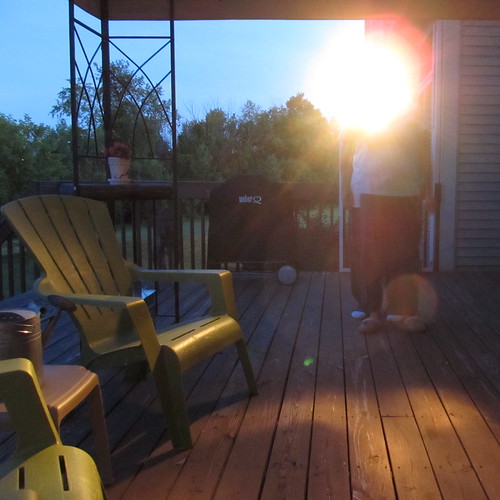 obviously my camera settings weren't right here because you can see everything in the photo. it looks as though i am just shining the flash light into the lens. i also don't think it was dark enough outside.
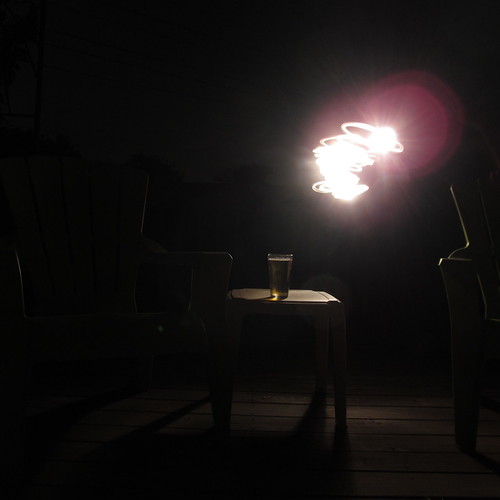 this is my second attempt. also done outside on my deck, after it was much darker out. i am using the manual setting on my camera and have a 10 second exposure set and the f-stop/ aperture at f/3.4 which is as low (the lower the number the more light is let in) as it goes. ISO is at 800 i believe. i also set a 2 second delay from the time i snap the photo, so that doesn't cause it to shake. i don't have a tripod yet, so it is just sitting still on a table.
 it sort of worked, but i need to get closer to the camera and make grander gestures so the light isn't a tight ball, but more like a paintbrush.
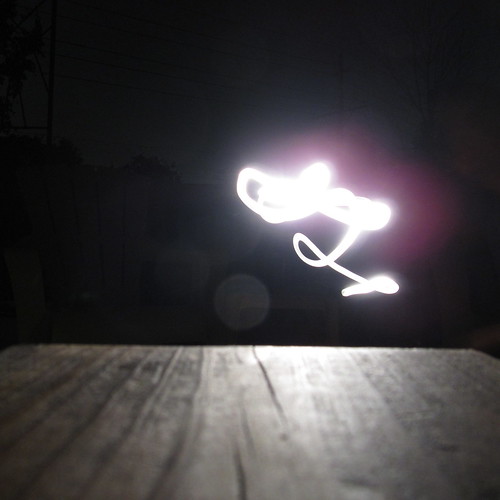 all the same camera settings. just getting closer to the lens. you can see a few more squiggles here.
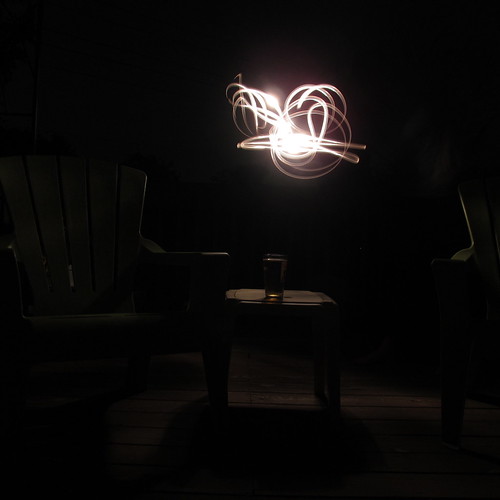 camera settings are the same. a much cooler painting effect/ design here. i am still trying to find out how to fill up the whole frame though.
camera settings the same. wider "brush" strokes here. i used a mini maglite flashlight for all of these photos. i think i need more room than just on the deck. even grander gestures, and i thought i was swinging and swirling that this all over. stay tuned....
No comments:
Post a Comment